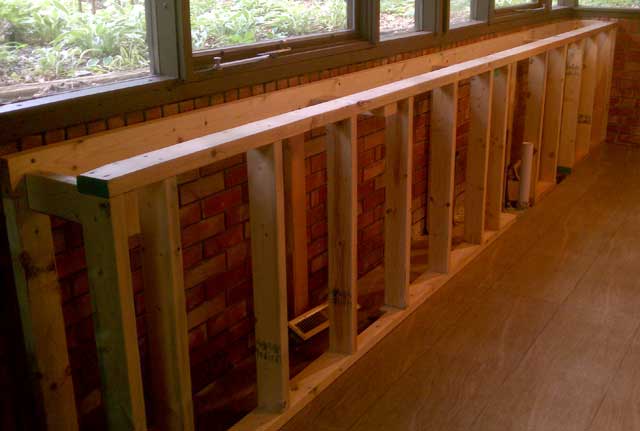
With the new floor in, the first order of business was to install a support wall underneath the windows. This wall serves three purposes; to anchor the cupboards, to move the cupboards out from the wall far enough to hide the brick wall that you can just see in the upper right of the picture below, and to provide a place for running the new plumbing and electricity.
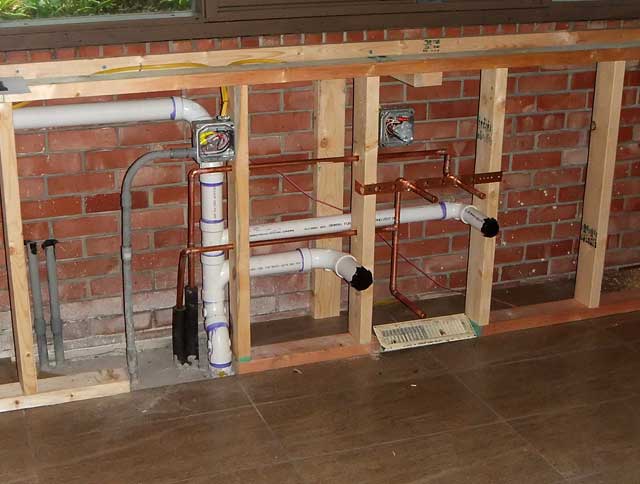
Most of the new utility work is behind where the dishwasher and sink will be located. We had to run the stack for the new drain off to the left so it could come through the roof in the tub room. Otherwise it would have been out in plain view in front of the windows. One of the first things we did when we started this project was to make sure the plumbing inspector would even allow the venting to be done this way.
The building inspector came by to have a look at all the framing and make sure it was up to code. He was the third inspector we have had so far; plumbing, electricity and building.
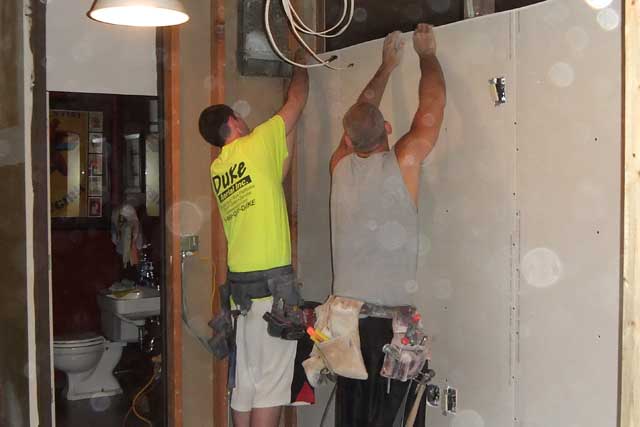
After the inspector gave his approval, the drywallers arrived. They had to cover up all the places where the old sheetrock was removed to allow for the installation of the new utilities. Ironically, the new wall did not have to be plastered because it will be completely hidden by the new counter and cabinets.
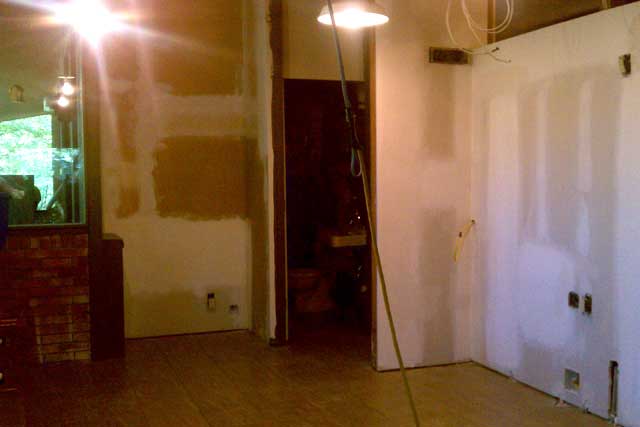
When they were done, the finisher came. He taped all the joints and put on the first coat of spackling. He had to let that dry but he was back the next day to sand the plaster’s edges and apply any touch up work that needed to be done.
While this was going on the plumber returned and with the roofing contractor they made sure the new openings in the roof were sealed properly. I also had the plumber remove the last bit of the old vent stack. He was able to cut off most of it with a reciprocating saw, but to get it flush with the ceiling he borrowed my angle grinder with a cut-off blade. You could see a “footprint” of where the the old wall had been. We plan to hide the scars with some trim that will sort of look like a structural element. That’s why the pipe had to be flush.
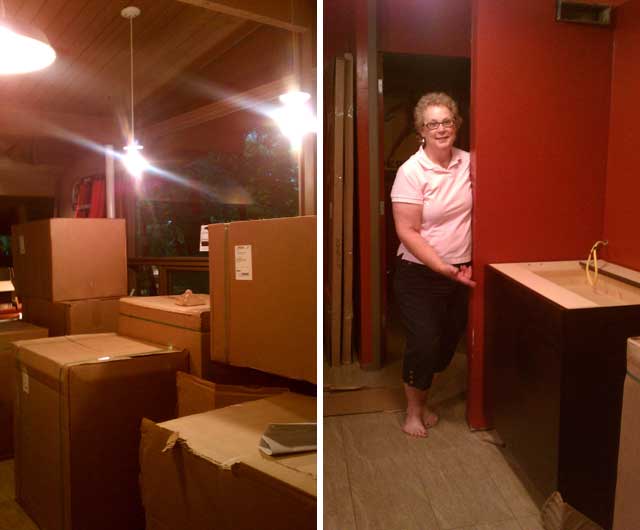
When everyone was gone, Karen got to work painting all the new wall surfaces and the old ones that were now exposed. We chose a red color that was the same as the paint in the little power room just off the kitchen. That poor little room has been doing double duty as a source of water and a place to do the dishes. It turned out to be a lot more surface area than we anticipated and Karen was running low on paint by the time she was done.
On the Friday, June 29th, the cupboards arrived and when everything had been brought in, the kitchen was chock-a-block full. We asked the contractor if we could open one of the cartons so we could see what things looked like. Karen gives you a preview of things to come.


It’s going to look *so good* when it’s done! I’m so excited for you guys!
“When they were done, the finisher came. He taped all the joints and put on the first coat of spackling.” Spackling?! Don’t you mean “mud.” 🙂
Spackle. Cackle, crackle, grackle, hackle, macle, rackle, shackle, tackle. Mud
Well, yes, of course. But we don’t want to get too earthy for our delicate readers.
It will be so beautiful. I can’t wait to see it and I’m sure, you and Karen can’t wait even less.
I am jealous of this great remodel. I know you are going to truly enjoy it. I really am enjoying watching the process. Just glad I don’t have to live through it!
It must have been exciting to put some color on the wall. Everything looks wonderful:)
Hi just about finished remodelling our kitchen. 6 months start to finish. We know what you are going through. Yours looks really good , it will all be worth it. Love from all in the UK xx
Gorgeous, can’t wait to see in person