After all the work was done that was described in the last blog entry, the electrical and plumbing inspectors came and gave all the work their blessings. You have to do this while all the work can still be seen.
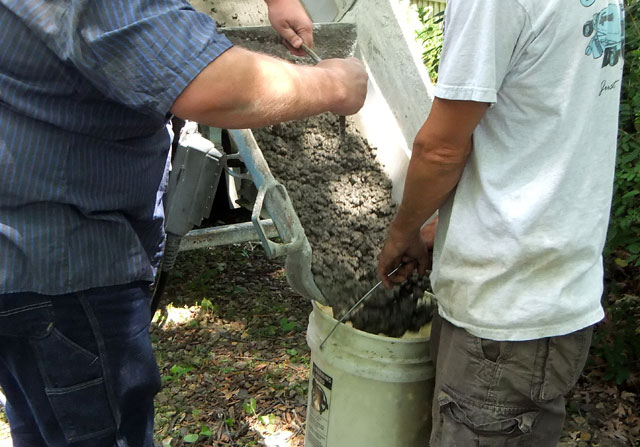
Next up, repaving the trench. The concrete man arrived and a few minutes later so did a cement truck. He needed to back up the path to my workshop a little so we had to move our car which had been sitting there unused for a while. Wouldn’t you know, it didn’t start and the guy pulled out his jumper cables and gave us a start.
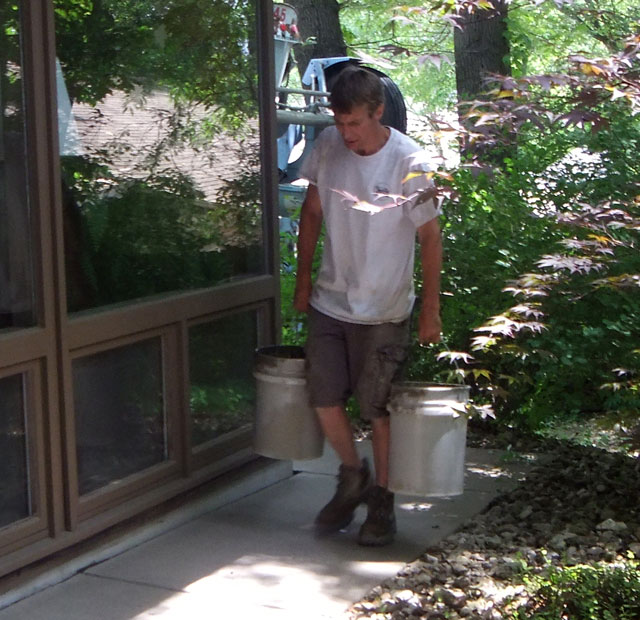
I wasn’t sure how he was going to get the cement into the kitchen since the nearest the truck could get was 40 or 50 feet away. Turns out, he had to lug the material in bucket by bucket. I think it probably took him about 40 trips.
The floor installer asked that the new slab be put in slightly lower than the floor. This was because concrete expands as it cures and can give the surface a bit of a dome by the time it dries. If this happens, the floor people have to grind it flush again. If it’s a little shy, they can put in a finish coat of cement that is thin enough it doesn’t expand and saves a lot of work.
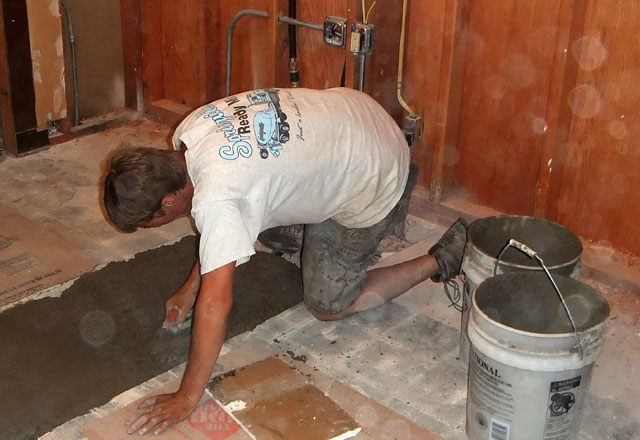
The cement guy would haul about 3 or 4 loads of cement in and pour it in the trench. Then he would trowel it out so it was close to the finished configuration. When he was done bringing everything in, he did the final troweling. And, as requested, he left it about 1/8″ lower than the existing concrete. He said we could walk on it the next morning.
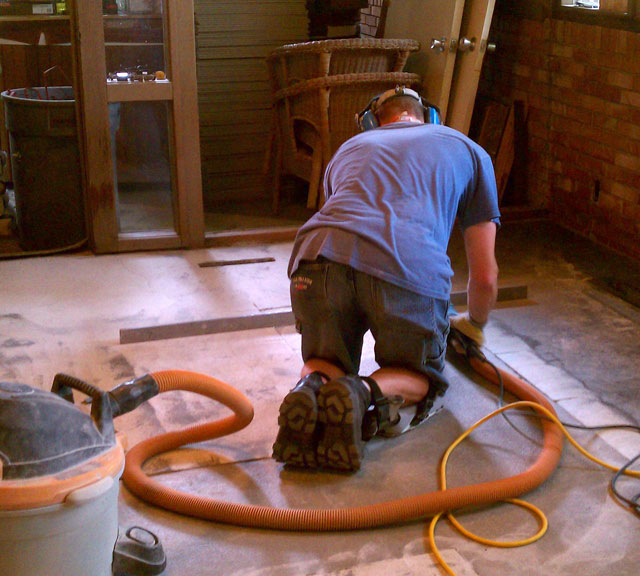
Monday morning the floor installer arrived. His first job was to measure the floor and make sure it was all level. There were two small places where the new cement was just a little high. There were also other places where it was not as level as it could have been. And there was a lot of old grouting and adhesive that had to be removed. Grinding it all level was a terrible job and created a lot of dust which settled all over the house. It also made a lot of noise which drove our grandson Ben frantic. By the end of the day it even made him sick.
The second day he came back and did the finish cement work and gave the whole floor a coat of some wonder product that needed till the next day to dry too.
The third day it was time to install the tile. He laid out a grid to keep everything straight and true. He had this nifty laser that kept all the angles exactly 90 degrees.
Then he went around and cut all the tiles that had to be a special shape. Ones that had to fit around the end of a wall or around a floor grate. Once he started laying tile, it went pretty fast.
On the last morning he grouted the tile and put a sealer on it. We had our nice new level tile floor.


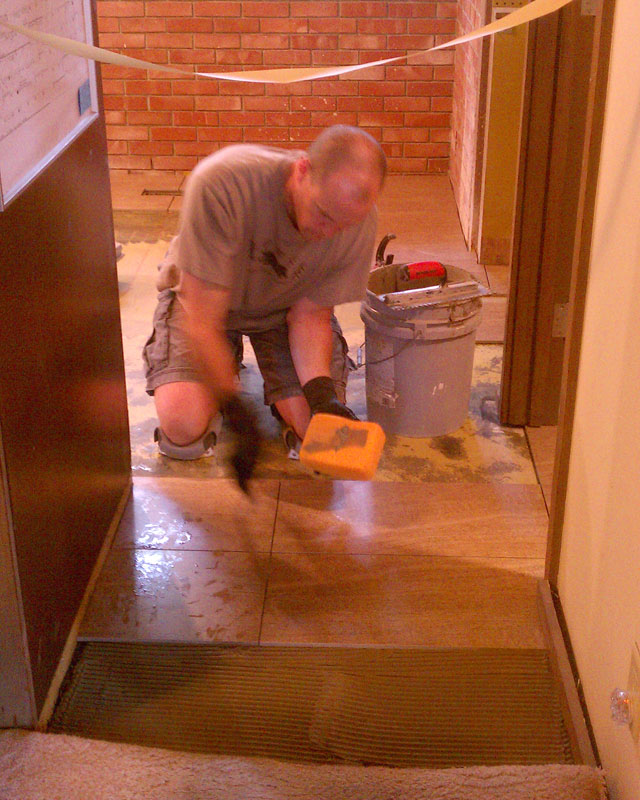
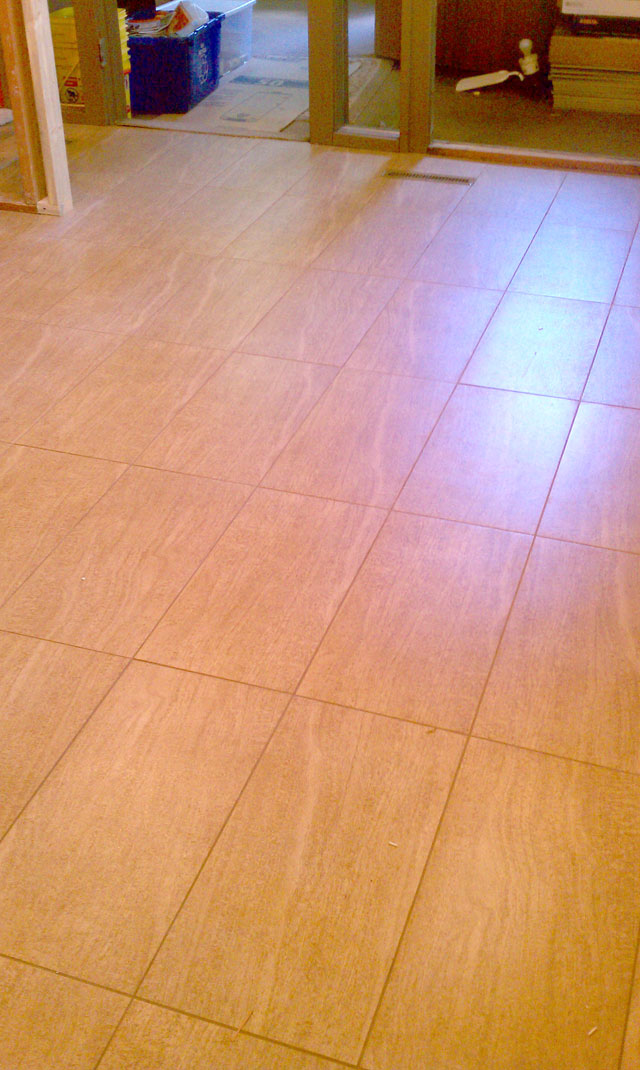
This is looking great. Once the tile is in they just have to hang cupboards and install appliances, right? This is going fast. Poor Benny!
Well, there are a few more steps. Build a wall, finish plumbing and electrical, and put in dry wall.
Oh, my heart goes out to Ben. I’m sure you guys also have had some issues with noise and dust. It’s not an easy/peasie project but it will certainly be beautius! Keep us posted!
Can’t wait to see the final product.
Looking good!
How are you guys eating while all this is going on? You kept the fridge, right?
The refrigerator was the first thing we had them move when the demolition started. It is in the tub room. In the next posting or two I will be showing our erstwhile kitchen setup.
Nice! You’re getting there! Hang on, go out for dinner, have some wine (often?), and think of how wonderful that kitchen will be when it’s done…. We’re looking forward to seeing the Thorpe Masterpiece.